Funeral Photo Display — Portraits and Screen Tributes
Prepare a familiar portrait for a memorial table and a coordinated image for the screen without silently cropping the photograph.
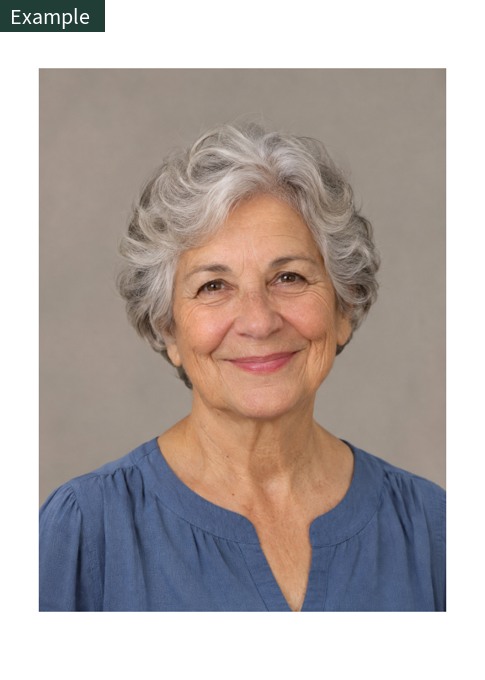
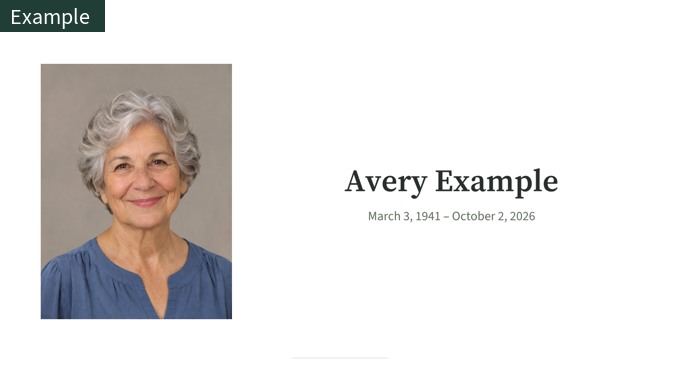
Plan the table and screen as different displays
A portrait beside flowers and a screen behind a speaker are seen in different ways. The table photograph may be held close or viewed through a frame, while a screen image is read from farther away. Decide where each image will appear and ask the venue which file formats and screen proportions it accepts. Do not assume that a large digital image automatically makes a suitable large print. Begin with a familiar photograph and an achievable display size.
Choose the expression people recognize
When comparing several photos, consider the expression and context as well as sharpness. A smaller, natural-looking image can be more meaningful than a detailed result that changes the person’s features. If you use restoration, check eyes, teeth, glasses, jewelry and the outline of the face against the original. Colorization produces estimated colors, so keep a monochrome version available if that is how the family remembers the photograph. Ask someone who knew the person to help choose the version.
Keep the photograph complete
A portrait frame and a television usually have different proportions. Stretching the photograph distorts a face, and filling every edge can crop important parts of the picture. A layout with margins preserves the original image while making room for a name or a short line of text. Inspect the actual portrait and screen previews separately. The kit’s large portrait options depend on source resolution; a small source may still work in the memorial card or a text-and-white-space layout when a large portrait is unsuitable.
Prepare the screen file with the venue
The kit includes a screen image for a coordinated tribute, not an animated slideshow or a video-editing service. Ask the venue to test the file on the actual screen before the event. Check that the photograph is not stretched, that the name remains readable and that the display does not cover text with a menu or crop the edges. If you want several slides, keep the originals and use suitable presentation software to arrange them. Settle timing and playback arrangements with the person operating the screen.
Print a portrait deliberately
For a photo lab, use the JPG marked for the matching finished size and ask the shop to preserve the composition and margins. For PDFs, follow the selected paper system and the guide’s scaling instructions. A frame opening can hide edges, so try a sample in the frame rather than relying on a screen preview alone. Paper and automatic color correction affect skin and shadow detail. Check one print before ordering more, and reduce the photo area if the larger version feels soft or artificial.
Make one matching set and keep your copies
Start with a JPG or PNG and enter the name, dates and optional wording once. Review the coordinated previews before selecting the free marked sharing image or the $12.90 USD complete digital kit. Qualifying portrait, card, screen and display files are supplied in one paper system, with up to 16 downloads including the guide. Printing and hardware are not included. Paid kits last 30 days from completed payment, and corrections or photo replacement do not extend that period. Download the final copies and give the venue the exact screen file you tested.
Complete digital kit: $12.90 USD
Create your digital kit