What Size Photo for a Funeral or Memorial?
Choose a photo size for a memorial card, table display or entrance sign, then prepare a practical printing file.
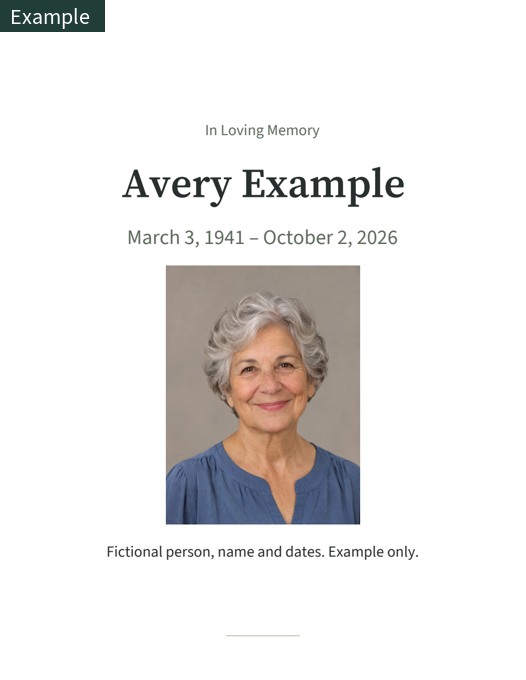
Start with where the photograph will be seen
A photograph on a card is held close, while an entrance display may be seen from across a room. Begin with that purpose rather than choosing the largest available size. Ask the venue where a picture can stand, whether a screen is available, and whether you need your own frame or stand. A small, clear photograph with readable wording can be more useful than a large, soft image. Keep the original file safe and work from a copy when preparing any layout.
Cards and photographs for people to keep
A 4×6 inch card is a practical option for a photo lab, but check the size offered by the shop you plan to use. A portrait printed at 5×7 or 8×10 inches can work on a table if the source supports it. Those sizes describe the finished paper or image, not a requirement to fill every edge with a face. White margins and a smaller photograph can help when the file is limited. Consider whether recipients will keep the card in an album or envelope before ordering a large quantity.
Entrance displays and service information
For a sign near the entrance, readable names and service information matter as much as the portrait. US Letter and A4 are different paper systems, so choose the file that matches your printer rather than allowing a print dialog to scale one into the other. A larger display may need a print shop or a printer that accepts larger sheets. Measure the available stand or frame first, including its visible opening. A frame can hide edges that looked fine on the full screen preview.
Read the pixel dimensions of the actual file
Open the file information and note width and height in pixels. If a photo is 1200 pixels wide and you print it 6 inches wide, that direction has 200 pixels per inch. Do the same for height and use the lower value when the proportions differ. The calculator can help compare options without uploading a photograph. Figures such as 150, 200 and 300 PPI are useful viewing guides, not promises of quality. The paper, printer, source sharpness and viewing distance all affect the final impression.
Decide how to handle a different aspect ratio
A tall photo and a wide frame cannot both fill the same rectangle without cropping, distortion or margins. Avoid stretching the photograph. If someone’s hair, hands or companions are close to the edge, preserve the full image and use a border. Ask the print shop whether its default setting fills the paper by cropping. Look at the preview for the actual product size, not just the original image. A layout with text and generous white space can keep a limited photograph usable without pretending it contains more detail.
Treat restoration and enlargement as separate choices
Restoration may help with scratches or fading, but it can change faces and small details. Enlargement increases pixel dimensions; it does not prove that newly drawn detail is authentic. Compare an important portrait with the original, especially around glasses, eyes, teeth and jewelry. If you dislike the processed version, use the original in a smaller area. You do not need to restore or enlarge every image before printing. A familiar photograph can be meaningful even when it is visibly old.
Give the printer a clear instruction
Use a JPG intended for the matching photo-lab size, or a PDF intended for your selected home paper. For a designed PDF, use Actual size or 100 percent when the guide requires it, and turn off Fit to page. Bring the kit printing guide with both pages if you use a shop. Explain whether you want automatic color correction turned off and ask that white borders remain visible. Print one sample, read the name and dates, inspect the face, and measure the result before approving a larger batch.
Prepare a simple plan for the day
Keep the final files in a folder with understandable names and download a second copy somewhere you can access. Note which file is for the card, which is for the table and which is for the screen. If relatives are helping, ask one person to check spelling and another to check that the chosen photograph feels right. Keep screen and print versions separate so neither is accidentally substituted. A matching kit can reduce repeated layout work, but the final choice of photo and wording still deserves a careful family review.