Restore Faded Color Photos: What Can Improve and What Cannot
Compare a faded color scan with a restored result, watch for changed details, and keep realistic expectations.
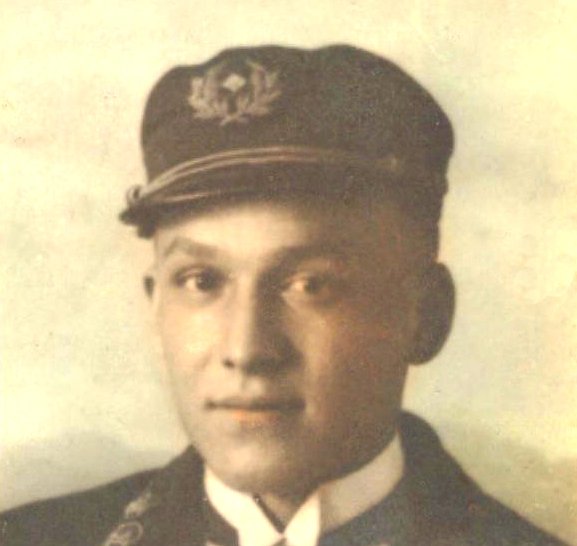
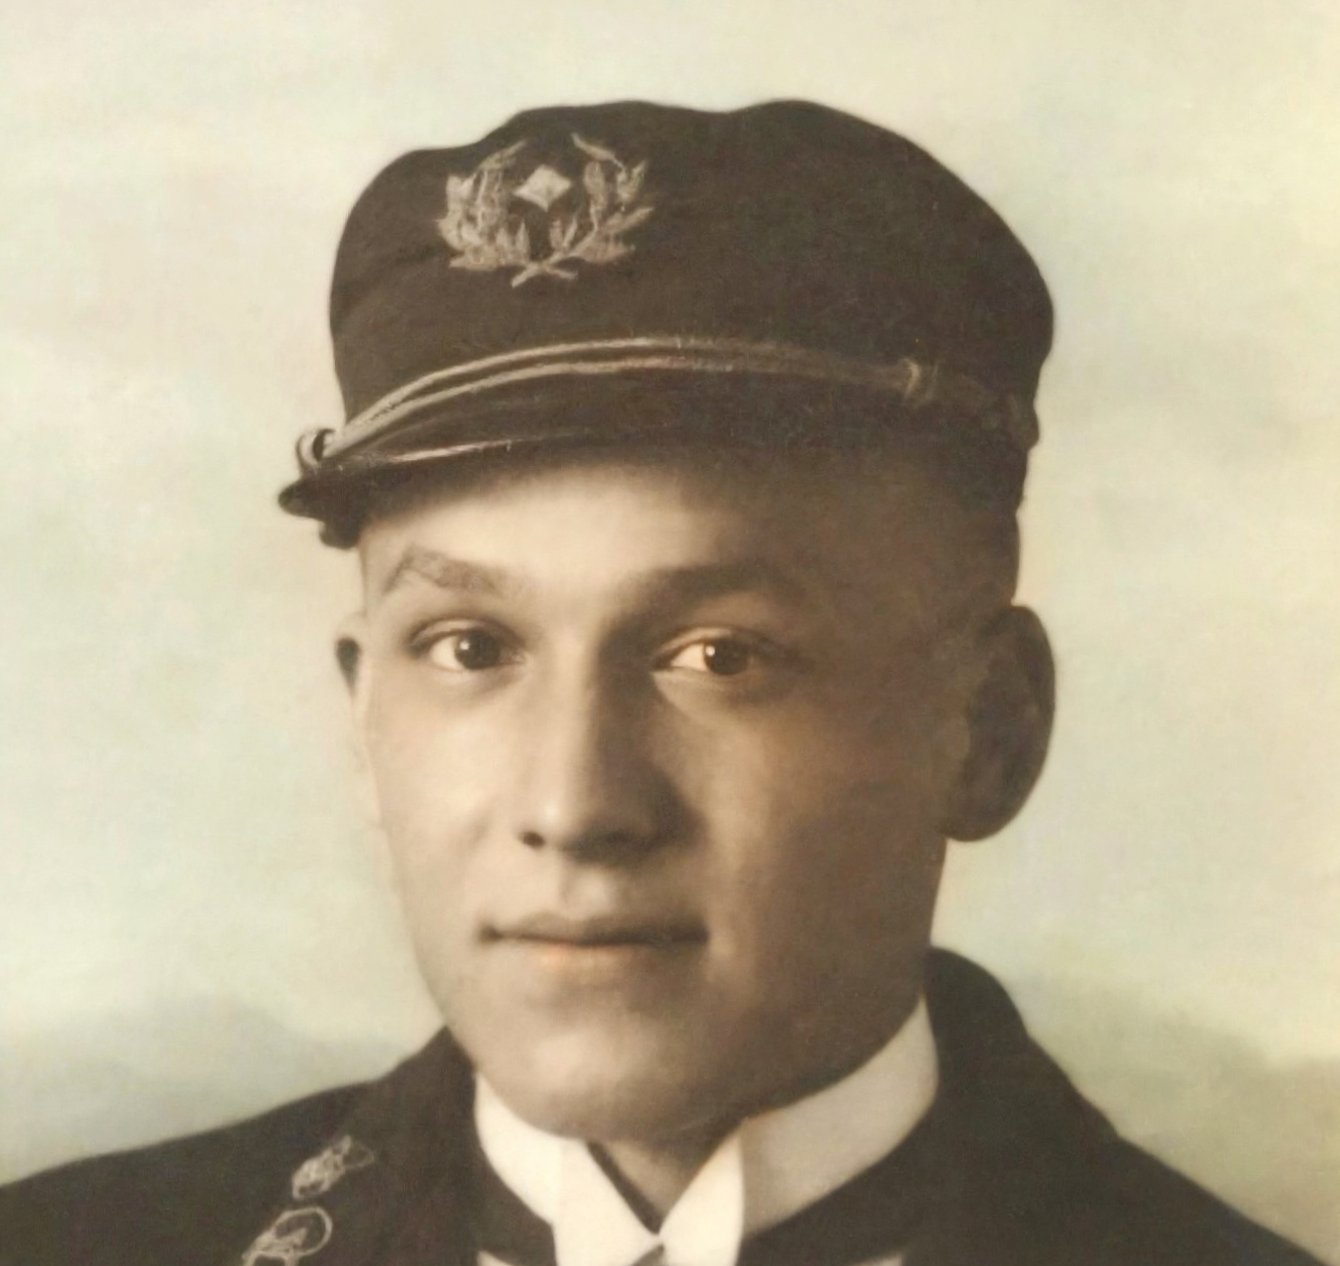
Separate fading from a poor copy
A photograph can look washed out because the print has faded, because the scan is overexposed, or because a phone copy contains glare. Those are different starting problems. Look at the physical print under even light and compare it with the digital copy before deciding what needs restoration. If the print has useful detail that the copy lacks, make a better scan first. Keep the original file and work on a duplicate so an automatic adjustment does not become your only remaining version.
Look for surviving color information
Some faded photographs retain clear color in shaded areas, clothing or a protected edge. Others have almost no dependable color left. A restoration can make colors look stronger, but it cannot prove which shade was there originally. Skin, uniforms, flowers and painted surfaces deserve a careful check because a plausible color may still be wrong. If family members remember the scene, use that knowledge when choosing a result. Avoid describing a reconstructed color as a verified historical fact.
Begin with the most complete source
Choose a scan with all the original edges, useful shadow detail and no added filters. A screenshot or a heavily compressed messaging copy may discard information you still have in the print. If several relatives have versions, compare them before uploading. Use a supported JPG, PNG or WebP within the displayed limits. A very large scan may be reduced for processing, so read the output dimensions and keep the full scan separately. Processing a smaller copy does not replace the archival value of the master.
Compare Natural before requesting more detail
Natural is a useful first comparison for scratches and fading because it stays closer to the source than the optional Sharper version. Look at the overall color balance, then check faces, clothing outlines and writing. A lighter background or stronger contrast can make a photo seem clearer without improving its faithfulness. Sharper can add detail and an enlargement step, but it may redraw more. Generate it only if it serves your purpose, and compare both versions at the same displayed size.
Watch for color loss and invented detail
A clearly colored input should not be accepted as a successful color-preserving restoration if it comes back almost neutral. The tool has a conservative safeguard for that case: it retries once and fails rather than offering a repeatedly neutral result as success. Very faded or intentionally toned photographs are harder to classify automatically. You still need to compare what is visible in your source. A safeguard against major color loss does not guarantee exact skin tone, unchanged eyes, accurate jewelry or faithful lettering.
Do not confuse Colorize with color correction
Colorize is intended for monochrome photographs and produces estimated colors. It is not evidence of the original palette of a faded color print. If a print still contains meaningful color, start with restoration and judge that result before deciding whether a different creative interpretation is wanted. Keep the versions labeled so relatives know what changed. There is nothing wrong with retaining a visibly faded photograph when its familiar appearance matters more than a vivid reconstruction. A family keepsake does not have to look newly photographed.
Choose the intended print before enlarging
Print size depends on the actual output dimensions and on how close people will view the image. Use the calculator to compare a smaller portrait with a larger display. More generated pixels do not establish missing historical detail. If a large face looks artificial, reduce the photo area and use a border or text layout instead. Print one test with the selected file, paper and shop settings. Ask the printer to avoid an automatic color correction that changes the version you already chose on screen.
Keep a clear record of your choice
Save the master scan, the chosen processed copy and a short note identifying which version was used. If you share a restored photo, describe it as restored rather than presenting it as an untouched original. Download results before our photo-tool copies are deleted within 24 hours, or delete them sooner when finished. A memorial kit has a separate copy and its own access period. Take time to compare important features with someone who knows the person, especially before using the image on several printed items.