How to Scan Old Photos With a Phone or Scanner
Prepare a flat, clear copy of an old photograph while preserving its edges, color and original file.
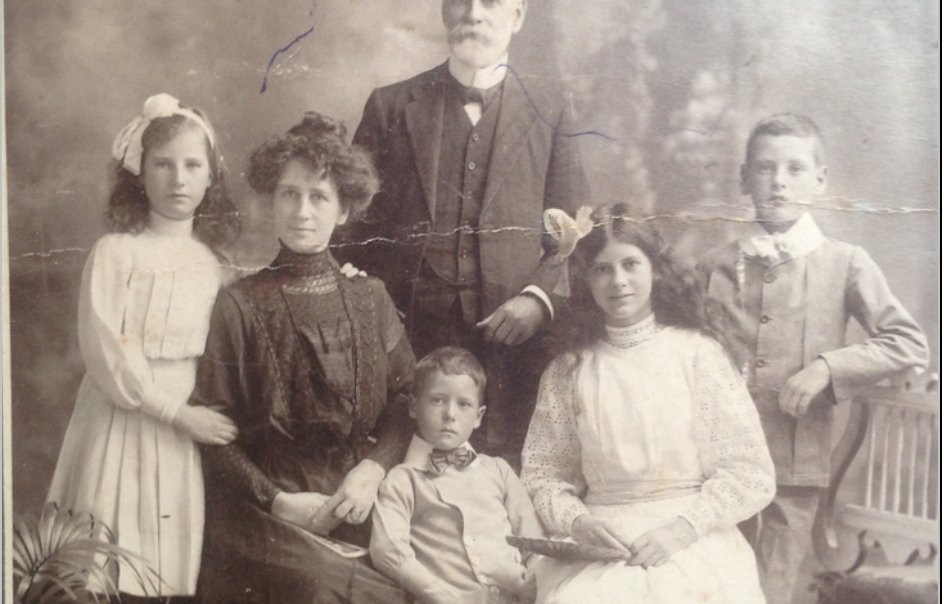
Handle the print before handling the software
Start with a clean, dry working area and handle a photograph by its edges. Do not apply cleaning fluid, tape, pressure or heat to an old print just to make a scan easier. A fragile, stuck or cracked photograph may need advice from a photographic conservator. If the print is in an album, do not pull it free against resistance. You can often make a useful reference copy in place. Photograph any notes on the back separately so they are not lost when you work on the front.
Set up even light for a phone copy
Place the photograph flat and use soft, even light from more than one direction if possible. Direct flash and a lamp reflected in glossy paper can hide information with glare. Move the light or the camera until you can see the whole surface without a bright reflection. Keep your own shadow away from the print. A window can be useful, but changing daylight may alter the color between shots. Take a few copies and inspect them before putting the original away.
Keep the camera parallel to the photograph
Hold the phone so the camera points straight at the center of the print. If one side is much closer to the lens, the image becomes a trapezoid and parts of the face can be distorted. Support the phone or use a stable stand if you have one. Include all four edges and a little space around them so a later crop does not cut off the original. Tap to focus on the photograph and inspect a face or a sharp edge before deciding the copy is clear enough.
Use a scanner without making a false promise of detail
For a flatbed scanner, clean the glass using the manufacturer’s instructions, then let it dry before placing the print. Keep the photograph straight and choose a setting that gives enough pixels for your intended use. Higher settings can produce larger files without adding useful detail when the original is soft. Make a test scan and examine it at a reasonable viewing size. Turn off aggressive automatic sharpening or color effects if they change the source in ways you cannot reverse. Keep a version before making adjustments.
Capture color even when the print looks monochrome
A faded or warm-toned photograph may contain subtle information that a black-and-white scan discards. A color copy can preserve the appearance of the paper and any remaining tint. You can make a monochrome derivative later if you want one. Try to avoid a strong color cast from surrounding light, and do not assume an automatic white-balance setting reproduces the print exactly. Including a separate neutral reference can help a careful comparison, but do not place anything on a fragile image surface.
Save a master and make an upload copy
Keep the fullest-quality copy your capture method provides as a master. Give it a useful name and store a second copy separately. For the photo tools, export a JPG, PNG or WebP within the displayed file and pixel limits. Memorial kits accept JPG or PNG, so export a phone HEIC as JPG for that workflow. Avoid repeatedly saving a compressed JPG through several apps. A smaller upload copy is convenient, but it should not replace the master scan or the physical original.
Check the copy before restoration
Look for glare, motion blur, perspective distortion, missing edges and accidental finger shadows. A tool cannot reliably infer information that the copy never captured. If you can improve the scan or phone setup, do that before processing. Restoration can reduce visible scratches and fading, but it may redraw faces and writing. Compare the result with your master rather than with a thumbnail. Keep the original beside any restored or colorized version so changes remain understandable to the people who use the images later.
Plan the next use instead of chasing the largest file
A card, a family archive and an entrance display have different needs. Read the actual pixel dimensions of the final image and use the print size calculator to compare paper sizes. A smaller photograph with a border may be preferable to an exaggerated enlargement. Download results you want to retain before the photo-tool deletion period ends, and keep your own copies. If you share the image, explain whether it is a straight scan, a restoration or a color estimate. That context helps preserve both the photograph and its story.